Class Tasks
Trial interview edit 1
To edit this interview we followed our tutor's tutorial to teach us the editing process. First we downloaded the footage and audio from ALO and put them into the adobe software premier pro. I synchronised the audio and videos together so that it was all aligned and then proceeded to mute the videos audio. I then deleted the footage that wasnt needed and brought all the clips together and linked them all. I went through the whole video and cut points between the interviewee speaking and the interviewer as I needed to delete the interviewers audio. We had two camera angles so therefore to go between both angles throughout the video i cut out parts of each angle so that it could go between the two smoothly. The video was also slightly slanted so using the editing presets I increased the scale and then increased the angle of rotation to make it all straight. Once I had all my videos together I edited the levels of volume to make sure Sophies voice was loud enough for when I added background music using the audio clip mixer. Once that was done I added background music and lowered the volume and then increased it as soon as Sophie had finished talking. To make all the clips flow and the audio fade out at the end I used the default transitions so that the audio doesn't just cut off abruptly and faded out. I then exported and and uploaded it to youtube so that I could share the interview on my blog above. I found this a really useful task to do as its helping me learn and practice for when I am editing interviews in my final documentary.
Using what I learnt in the task before, above is another interview edit using our own interview footage we filmed and audio recorded.
Title sequence trial
To edit this title sequence we followed Paul's tutorial to help us practice for our FMP final product. I first downloaded two files; first a video of one water droplet which is present in the background and then another video of lots of water ripples. I used after effects to create this title sequence, once i opened this software i imported the first video onto the screen and then using the text tool I wrote out the text "DEPTHS" and enlarged it to fit the screen. We moved the anchor point to the middle of the text so that any scaling is done around that. I then put a scale keyframe around the 7 second point. I then went to the 1 second point and scaled the text down to make it a lot smaller as if its further away so that throughout the video the text gradually grows larger. To make the text more cinematic we enable the 3D effect and animate function which enable me to be able to spread the text out. Then layering the droplet video behind the text meant that the letters had enlarged and got to the end result by the time the water drops at the end. When I had the video in the background I edited the opacity of the text at the beginning so that as well as enlarging is fades in naturally as well and also fades out at the end. To do this I made a key frame at the points I wanted to it to fade in at the beginning and then copied and pated it to the end and reversed it so it faded out instead. I then imported the water ripple video into Adobe after effects and dragged it behind the text and video so it was not seen. I then used the effect 'displacement map' and dragged it onto the text. On the menu I changed the displacement map layer from the text to the bottom layer ripple video. I changed the horizontal and vertical displacement colour to 'luminance' and then changed the max vertical and horizontal displacement to 3. Layering all this together meant that the text now rippled to create a watery 3d effect. I then used another effect called 'Gaussian blur' to make the text go from blurry far away to in focus close up. Using the effects menu I made a key frame at the end and then went back to the beginning and adjusted the blurriness to 29. The final effect Paul taught us to use was the mesh warp effect. I again dragged it onto the text which brought up a grid on the screen which meant we were able to distort and warp the text to make it look as if its floating up underwater. Then I had my finished result as shown above! I found this a great task and will definitely incorporate these ideas and effects into my title sequence within my documentary
Corridor Crew edit
In this task we got given a 15 minute long slip of the corridor crew unboxing and using a crash mat and we had to edit it down to less than 5 minutes. I used premiere pro to edit the video. I first downloaded three files; the whole 15 minute clip, the intro, and outro. I inserted the files onto premier pro and started with the main clip. To cut the clips down I watched it through and selected the most entertaining parts where they were either talking about it or crashing onto the mat to show some action. I managed to cut it down to under 3 minutes which shows how much footage isnt necessary and how you can cut a clip down and still have important key elements featured. I uploaded the final product to youtube which you can watch using the link above.I found this task really fun and interesting and I will definitely use these skills that i practiced in my final documentary when cutting through parts of interviews and archive footage.
Production Practice
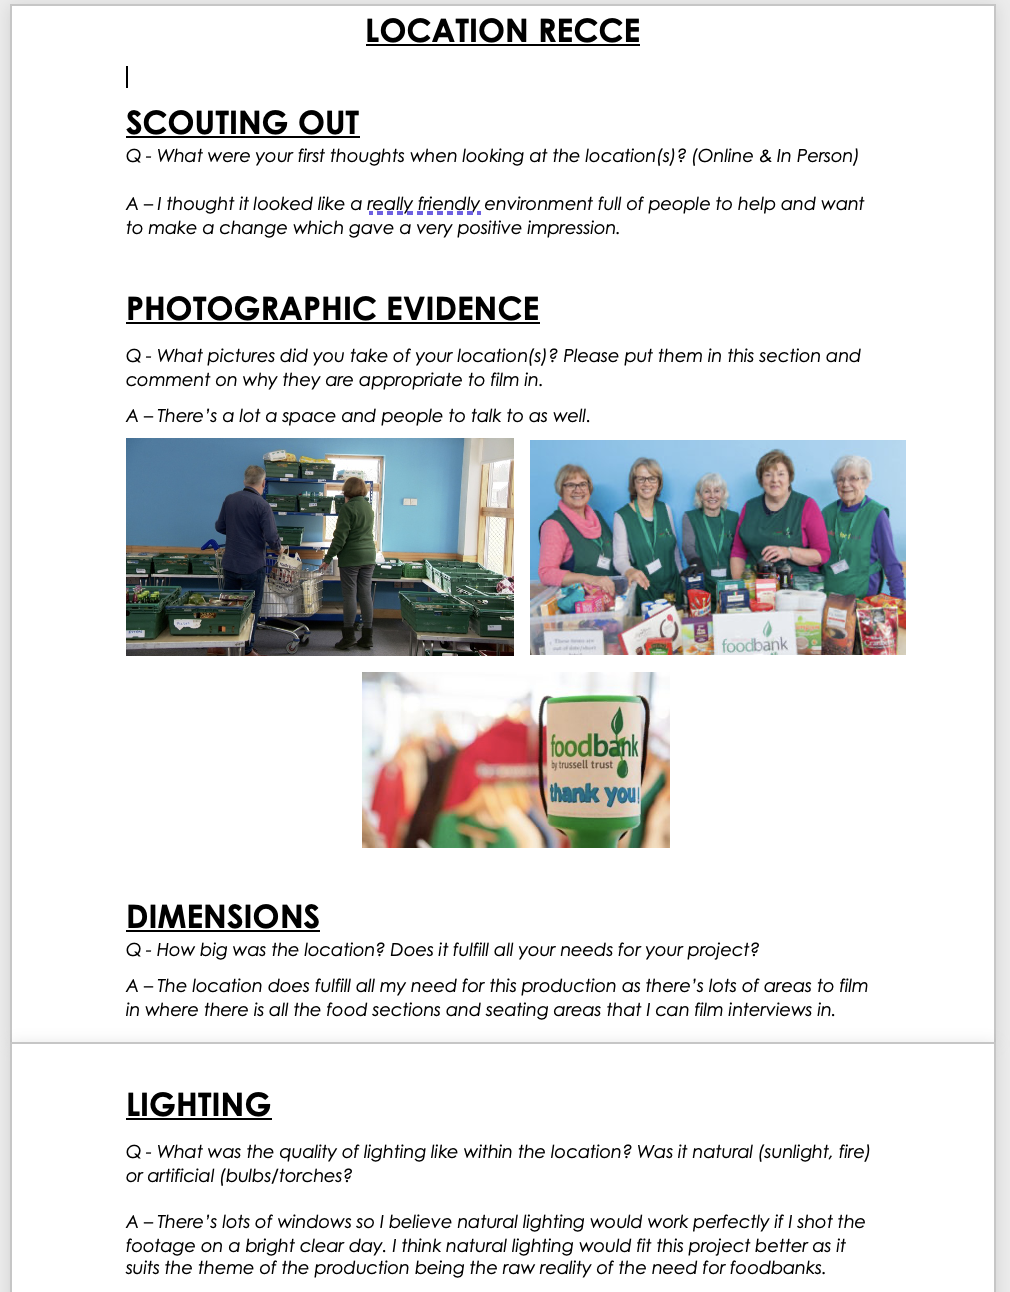
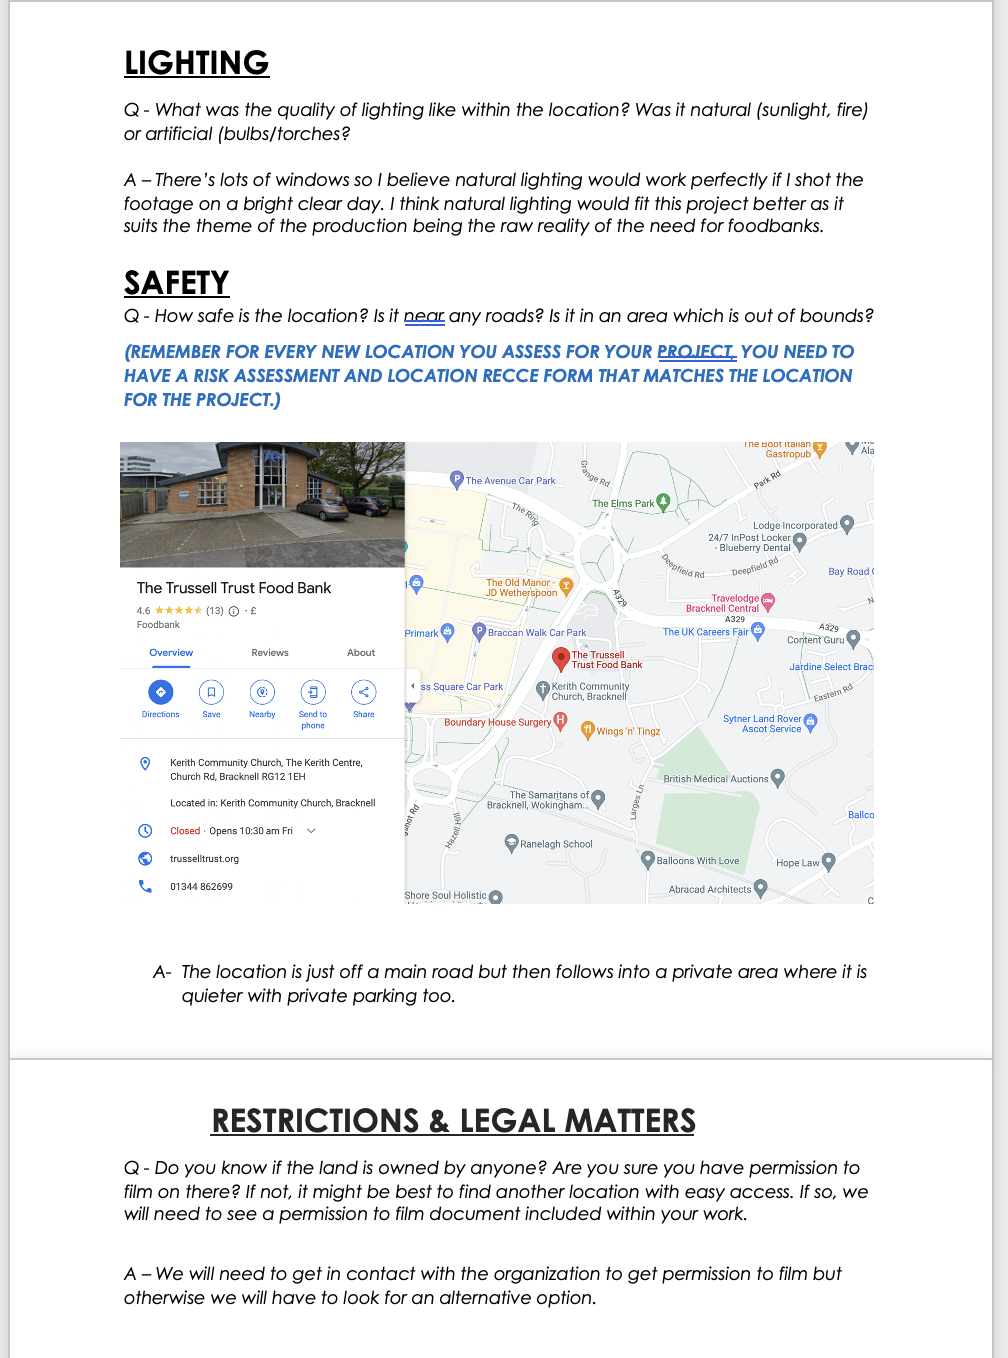
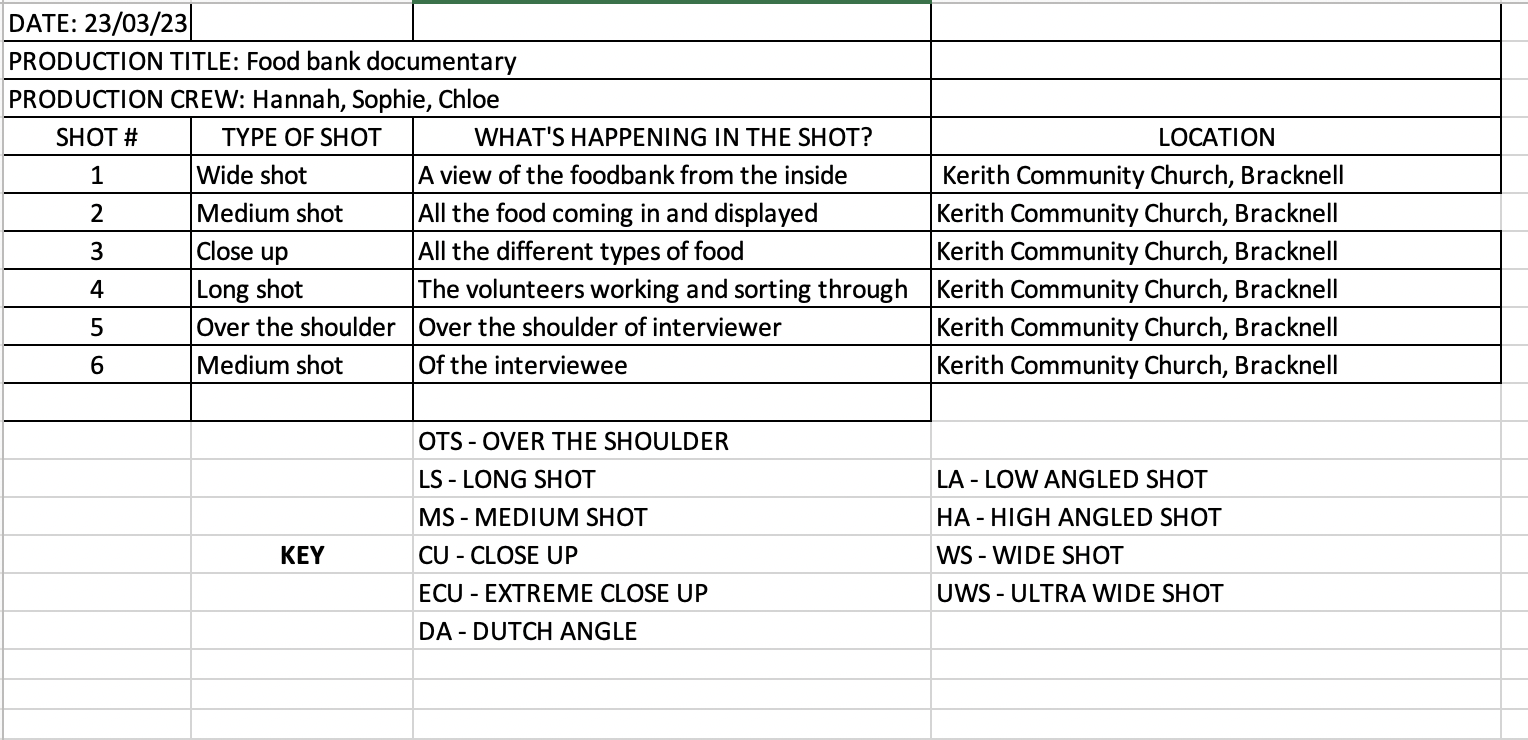
We have been given the task to chose between three subjects; teacher strikes, prioritising the future and food banks. Chloe, Sophie and I chose the food bank topic as we thought it would be interesting to research and film about. Within this production practice we have to research the topic, complete a location document, create a shot list for the filming and brainstorm a series of questions for an interview.
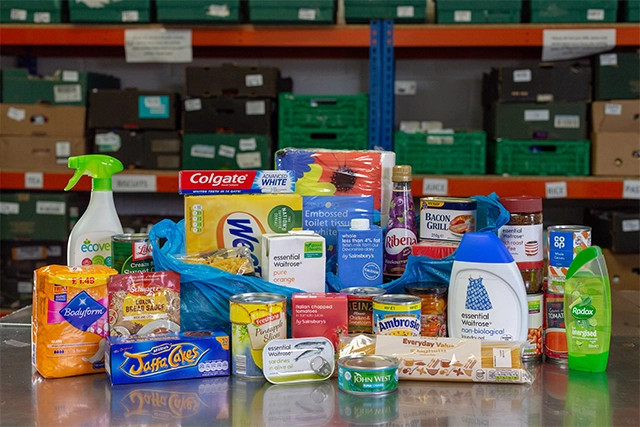


Research
Food banks are organisations where food is donated by the public at a range of places, such as schools, churches, and businesses, as well as supermarket collection points. It is then sorted into emergency food parcels by more than 28,000 volunteers, to be given to people in crisis. We have chosen to explore the trussel trust food bank which is just down the road from our college. Trussel trust aims to help us into a world where food banks aren't needed which is why they recently released their 5 year strategic plan to work with many foobanks such as the one in bracknell and to create more awareness around the topic and create a movement willing to make change.
Location Recce
Shot list
Interview question ideas
- What inspired you to work with a food bank?
- Can you describe the mission and goals of your food bank?
- How do you go about sourcing food donations and partnerships with local businesses?
- What steps does your food bank take to ensure the safety and quality of donated food?
- Can you discuss any challenges or obstacles your food bank has faced in the past year, and how you overcame them?
- Can you share any success stories or inspiring moments that you have experienced while working with the food bank?
Archive footage edits
In this class task we were asked to preview these clips from the 911 attack and split them up and edit the together to make a shorter video. I downloaded 4 clips from the media drive and imported them into Adobe Premiere Pro. I looked through all the clips and selected particular parts I thought were most interesting and i wanted to feature in the final clip. I found that some of the clips were muted which made it quite uneven and not smooth so I found a clip which had a background sound that would be perfect all the way through. I cut that clip and imported it onto my screen. I then unlinked the video from the audio of that particular clip so that I could have the audio running through the background the entire time. I deleted the video part. I used a variety of all 4 archive footages throughout and at the end I featured an interview. When it reached the clip of the interview I used the razor tool to split the sound so that whilst the interview was running the background sound was quieter. I used the audio mixer to quieten the background audio and increase the sound of the interview infront. I exported the video to youtube which you can watch above. I really enjoyed this task as I am planning to use lots of different types of archive footage in my final documentary so this has helped me practice putting all the clips together and choosing which are most relevant.
Portugal stock footage task
In this task we were given a 7 minute long audio of a man speaking on the history of portugal. Using stock footage I had to import videos to match the audio. First I started of by downloading the audio from ALO and importing it into Adobe Premiere Pro. I used the websites "Pexels" and "Coverr" to find my free stock videos. For each topic of the audio book I found different footage to represent it. In total I used over 100 different clips. I downloaded them all indivually and then dragged them from my finder onto my premiere pro work space. As I uploaded each video I realised some of them came with sound so I had to unlink them and then delete the additional sound. Another frustrating problem I came across was when I imported each video they would be too zoomed in each time so I had to scale every single one the frame size. Once I finished uploading all the videos I downloaded background music from "BenSound". I put that audio onto my workspace and then to make sure the sound wasn't too empowering I used the Audio Track Mixer to increase the audio about portugal and also softed and decreased the background music. I exported my final product via the media encoder and uploaded it to youtube, which you can watch with the link just above. I was really happy with how this task turned out! I think it definitely helped me practice searching for archive footage and layering them onto sound. Which I believe will be very useful when I come to use archive footage in my documentary.
Warning page task
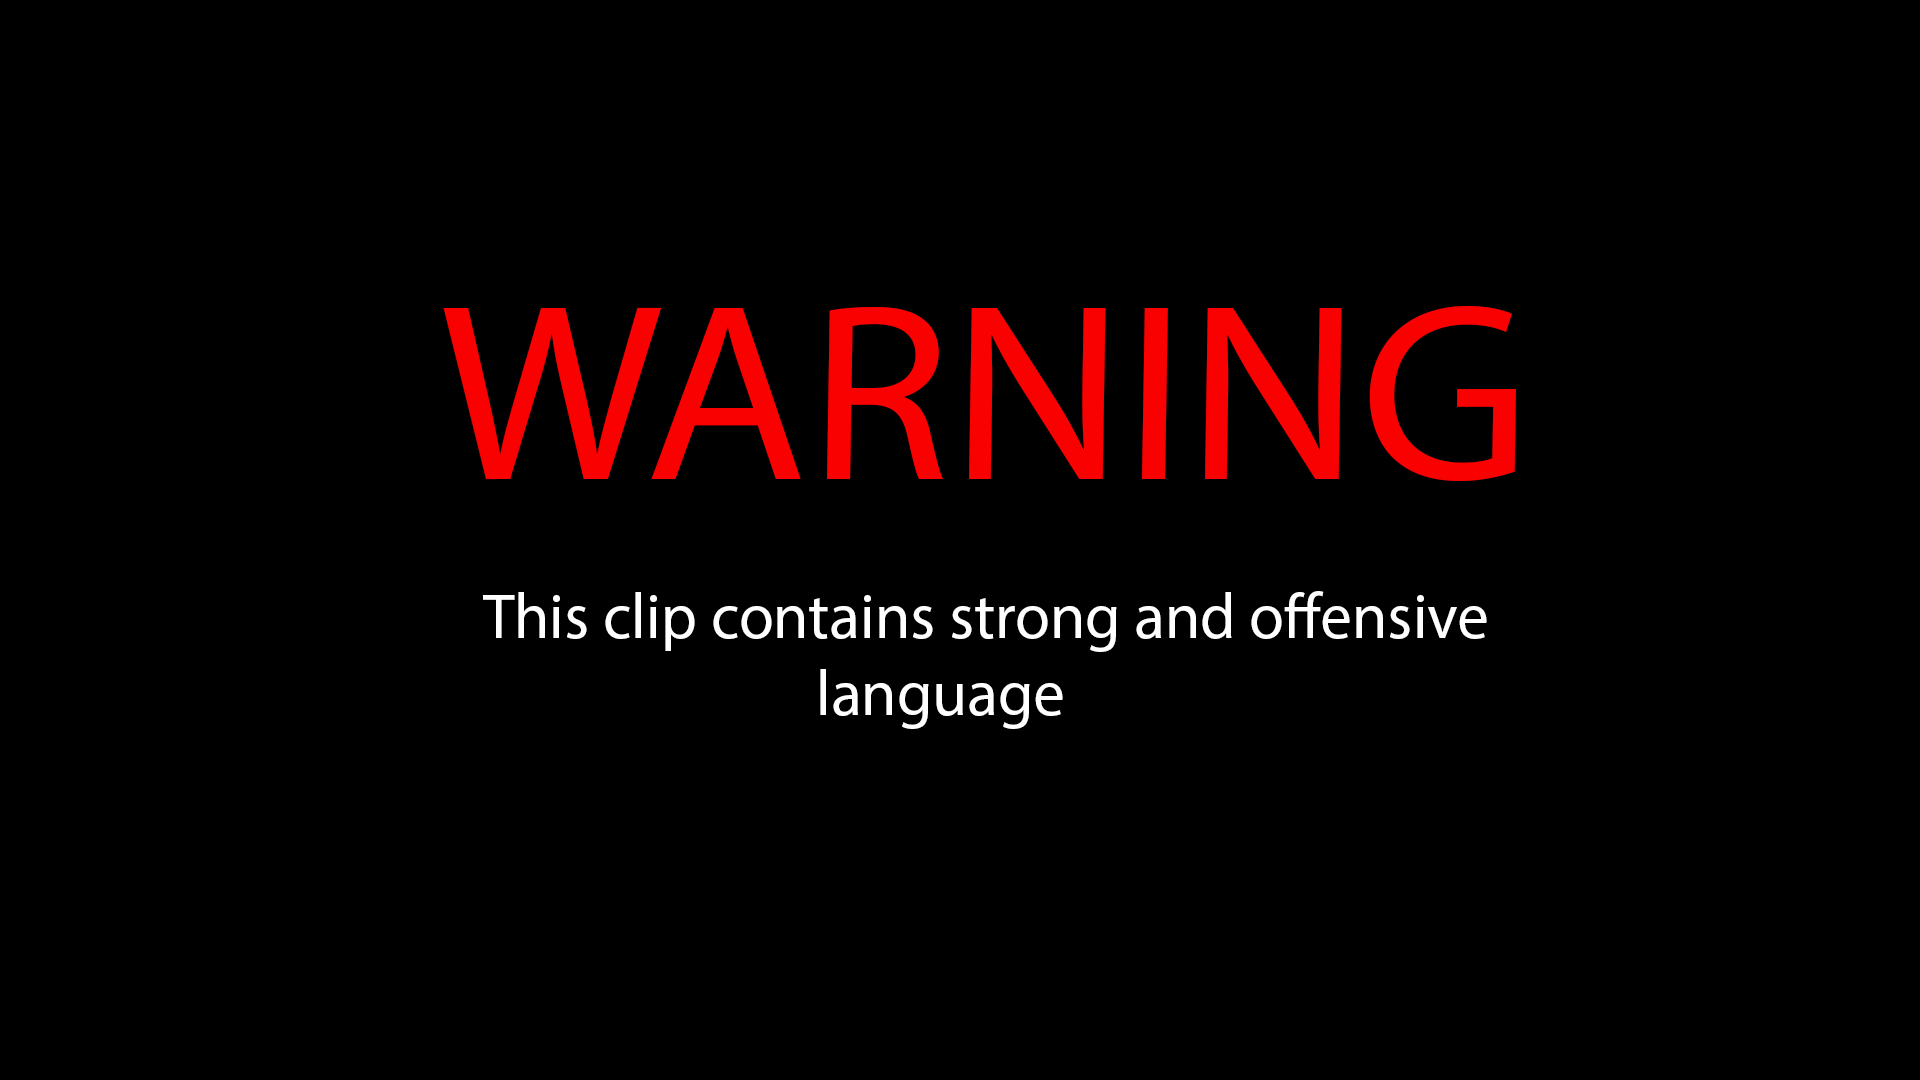
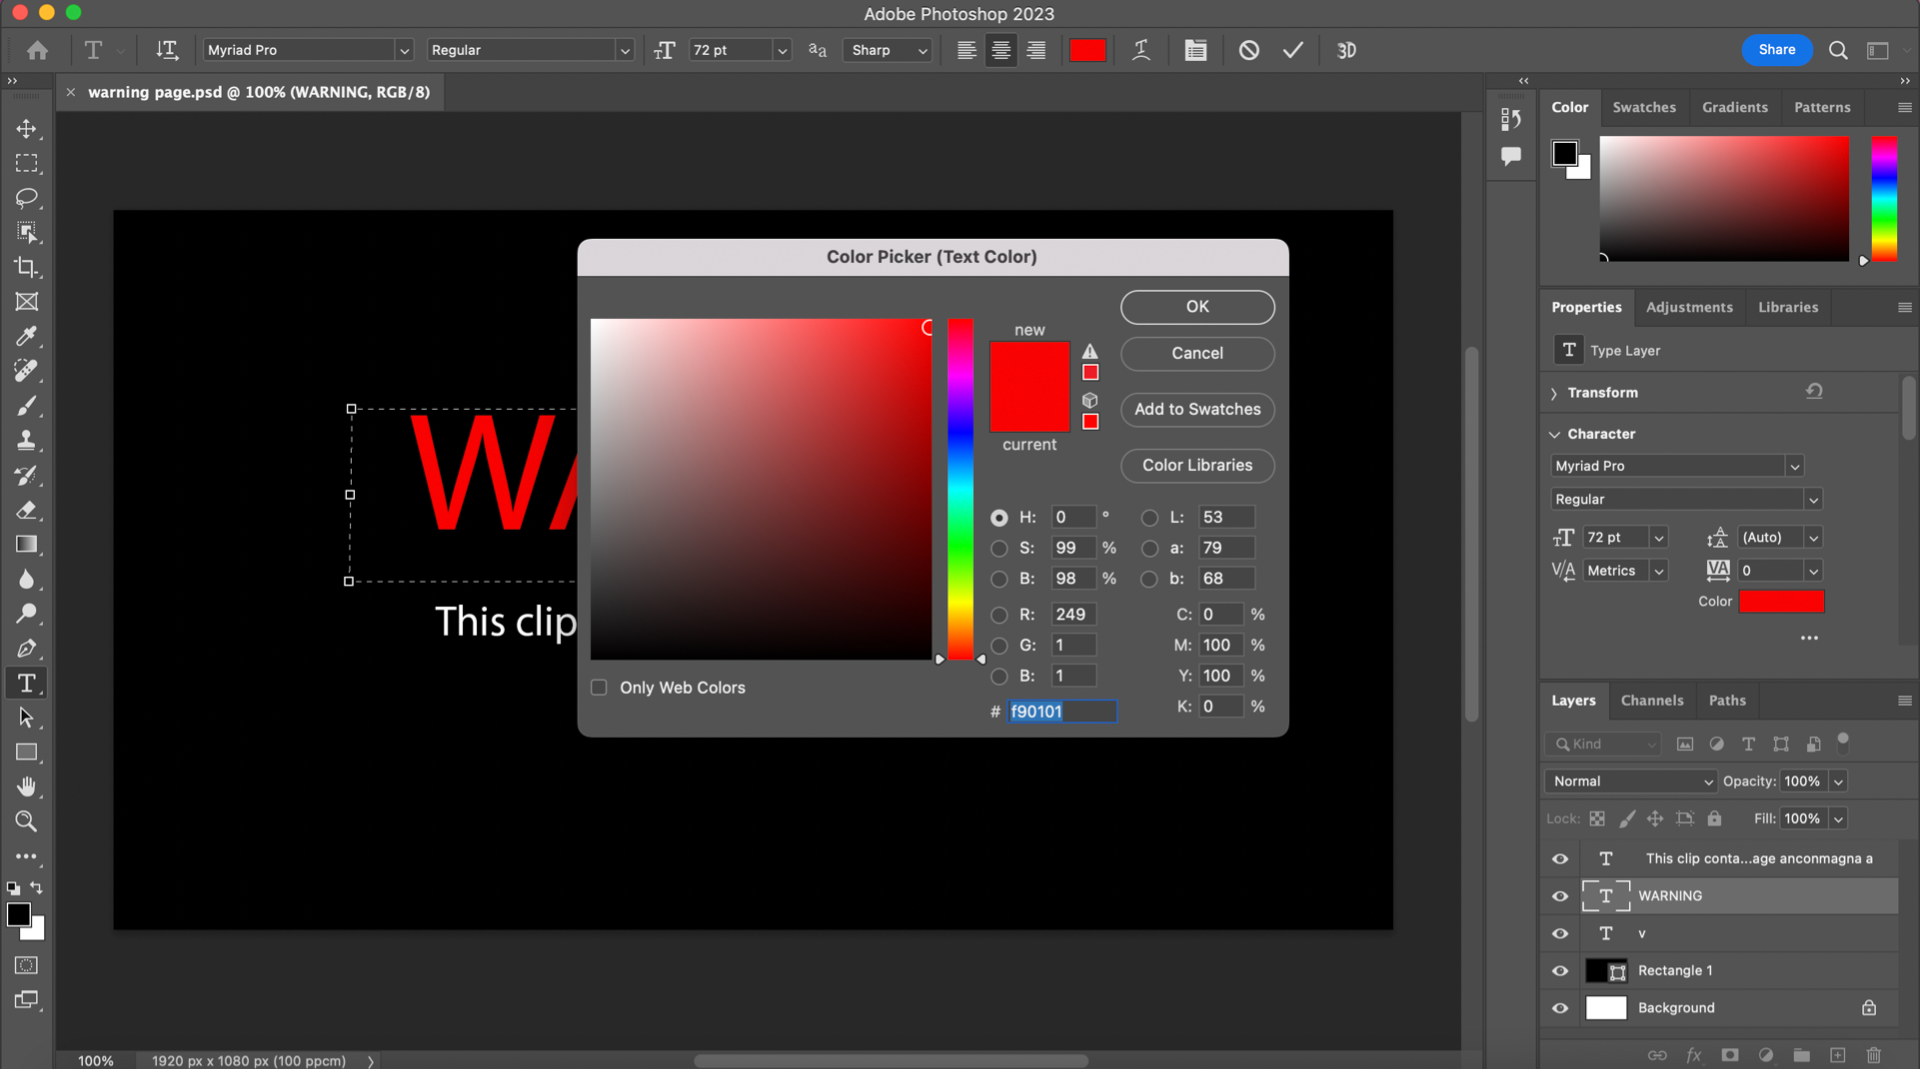

For this task we used Adobe photoshop to create this picture which usually goes at the beginning of a video to display any warnings of adult rated content. To complete this I followed Sam's tutorial on ALO announcements. I first opened Photoshop and created a 1920 width by 1080 height preset. The image originally had a white background so I used the rectangle box tool and dragged it across the screen and changed the colour to black. Then using the text tool I typed out the first word "warning". I changed the word colour to red so that it stands out and draws the viewers attention to the screen, I also changed the font size to 72 so that it was bigger than any other text I was about to write. I positioned it in the middle of the screen. I then used the text tool again and wrote out the second piece of text "this clip contains strong and offensive language". I changed the font colour to white and also decreased the size to half of the warning size. I then exported it as a png file. This task was really useful as, if there is any content within my documentary that is explicit I can use this image at the beginning.
Censorship Edit
For this task we were practising censorship within a film which is very common when dealing with explicit or copywrited images. In this particular task we were given this music video which shows a bottle with a logo printed on the front. We got asked to censor out the logo subtly using the tutorial we were given. First I went to ALO and downloaded the music video. I then opened up premiere pro to do the editing and then I imported the video onto the workspace. I dragged the marker to the exact point the bottle comes on screen and using the "M" key it creates a marker on the timeline. I then did the same thing and marked the point that the bottle is no longer present on the screen. Using the razor tool I cut those two points so that I have the section in which the bottle is in shot. I then searched for the "fast blur" effect and dragged it onto that section on the timeline. I then went to effect controls at the top of the screen. Under the fast blur section I clicked on the oval shaped mask option and dragged it onto the bottle. I then adjusted the points so that it fit perfectly around the shape of the logo. After I had made my mask shape I went to adjust the blurriness. I adjusted this to 75 so that you cant make out the logo but it isnt completely unrecognisable. I then changed the mask feather to 55 so that the edges of the blur were less harsh. Under the mask path section I pressed the play button which then tracks the movement of the bottle and then it ends up with the blur following the movement of the bottle so that its covered at all times. I adjusted it a couple of times to make sure it was neat and clean and it ended up looking very natural and I was very happy with the result. I feel that this task will definitely help me in the future when working with footage not suitable for the audience or to avoid any copy-write claims.